Free and Automated SSL/TLS Certificates with Go

Jan 13, 2018: This post has been updated to use HTTP challenge as Let’s Encrypt disabled the TLS-SNI challenge, which we were using before.
HTTPS has become a must nowadays. Not only for its security purpose, but also because search engines like Google are giving better rank to websites that run on a secure protocol over those using plain HTTP.
It’s 2017 and gone are the days that we could use the price as an excuse to not have HTTPS our our websites.
On this post I’ll explain how to create a Go web application that automatically generates SSL/TLS Certificates and use them to run itself on HTTPS. The best part is: It’s free!
Requirements
If you wish to follow this demo and try it yourself, please make sure you comply with following requirements.
- You need the Go compiler;
- A server that is publicly available. If you don’t have one, I suggest using a VM on Digital Ocean. If you run it for 24 hours, you’ll pay only $0.15;
- A domain name and access to it’s DNS settings. You’ll not need this if your cloud provides a public shared name, for example:
yourvm0001.yourcloud.net.
Let’s Encrypt and the ACME protocol
Let’s Encrypt is a very well known and trusted SSL/TLS certificate issuer that provides a free and automated generation process. It is possible to issue a certificate in less than a second without any registration process or payment.
Autocert is a Go package that implements a client of the ACME protocol used to generates certificates on Let’s Encrypt. This is the only package dependency that you will need, no other installation or package is required.
You can get it as any other Go package.
go get golang.org/x/crypto/acme/autocertThose looking for more information on ACME or alternative packages, I recommend this talk dotGo 2016 - Matthew Holt - Go with ACME
The magic code explained step by step
package main

import (
	"crypto/tls"
	"fmt"
	"net/http"

	"golang.org/x/crypto/acme/autocert"
)

func main() {
	mux := http.NewServeMux()
	mux.HandleFunc("/", func(w http.ResponseWriter, r *http.Request) {
		fmt.Fprintf(w, "Hello Secure World")
	})

	certManager := autocert.Manager{
		Prompt: autocert.AcceptTOS,
		Cache:  autocert.DirCache("certs"),
	}

	server := &http.Server{
		Addr:    ":443",
		Handler: mux,
		TLSConfig: &tls.Config{
			GetCertificate: certManager.GetCertificate,
		},
	}

	go http.ListenAndServe(":80", certManager.HTTPHandler(nil))
	server.ListenAndServeTLS("", "")
}
We start the main function by creating a mux with a simple Hello World message on path /. In this example we’re using the Go’s default Mux, but it could be easily replaced by any other third-party router.
The next step we create an instance of autocert.Manager. This struct is responsible for communicating with Let’s Encrypt and fetch the SSL/TLS certificates. The Cache field is an interface that defines how and where autocert.Manager should store and load the certificates from. In this example we’re using autocert.DirCache that stores the certificates in a local folder. This is the easiest way to get started, but might not be the best one for websites hosted on multiple servers, because each server will have it’s own cache.
The last step is to create a http.Server that listen on port 443 and uses our mux instance. We then create tls.Config object and assign it to the server. Now is where the “magic” happens. GetCertificate is a method that we can use to tell the server where to load the certificate whenever a new HTTPS request is starting. This method gives us the opportunity to choose what certificate to use instead of returning a specific one for every request like most applications does. We then use certManager.GetCertificate which will first try to get a matching certificate from the cache, if there’s none matching, then a new certificate is fetched from Let’s Encrypt using the ACME protocol.
Early 2018, Let’s Encrypt disabled TLS-SNI challenge due to security reasons. The recommendation is to use HTTP challenge, and we do so by using certManager.HTTPHandler(nil) and attaching it a new http listener on port 80.
After that, all we need to do is start the server with server.ListenAndServeTLS("", ""). If you’ve worked with a HTTPS server on Go before, you probably remember that these two parameters are the Certificate and the Privatey Key. When using autocert, we don’t need these so we pass an empty string.
It worths to mention that, when using certManager.HTTPHandler(nil), all traffic comming into HTTP will be redirect to HTTPS automatically. You can override this behaviour by passing a http.Handler instead of nil as first parameter.
Let’s run it!
You can run it like any other Go web app, but it’ll fail if you do it on your local machine. The reason being that Let’s Encrypt requires the website to be publicly available through a know DNS name. When you run it locally, Let’s Encrypt cannot ping back your domain for verification purposes and it fails.
- Create a new DNS A record targeting your VM public IP.
- Compile your Go app with
CGO_ENABLED=0 GOOS=linux GOARCH=amd64 go build -o autosslor different parameters if your target platform is not linux/amd64. - Copy your binary to the server.
- Log into your server with SSH and start your Go server by simply running the binary you have just copied.
- Open your browser with the address of your DNS domain.
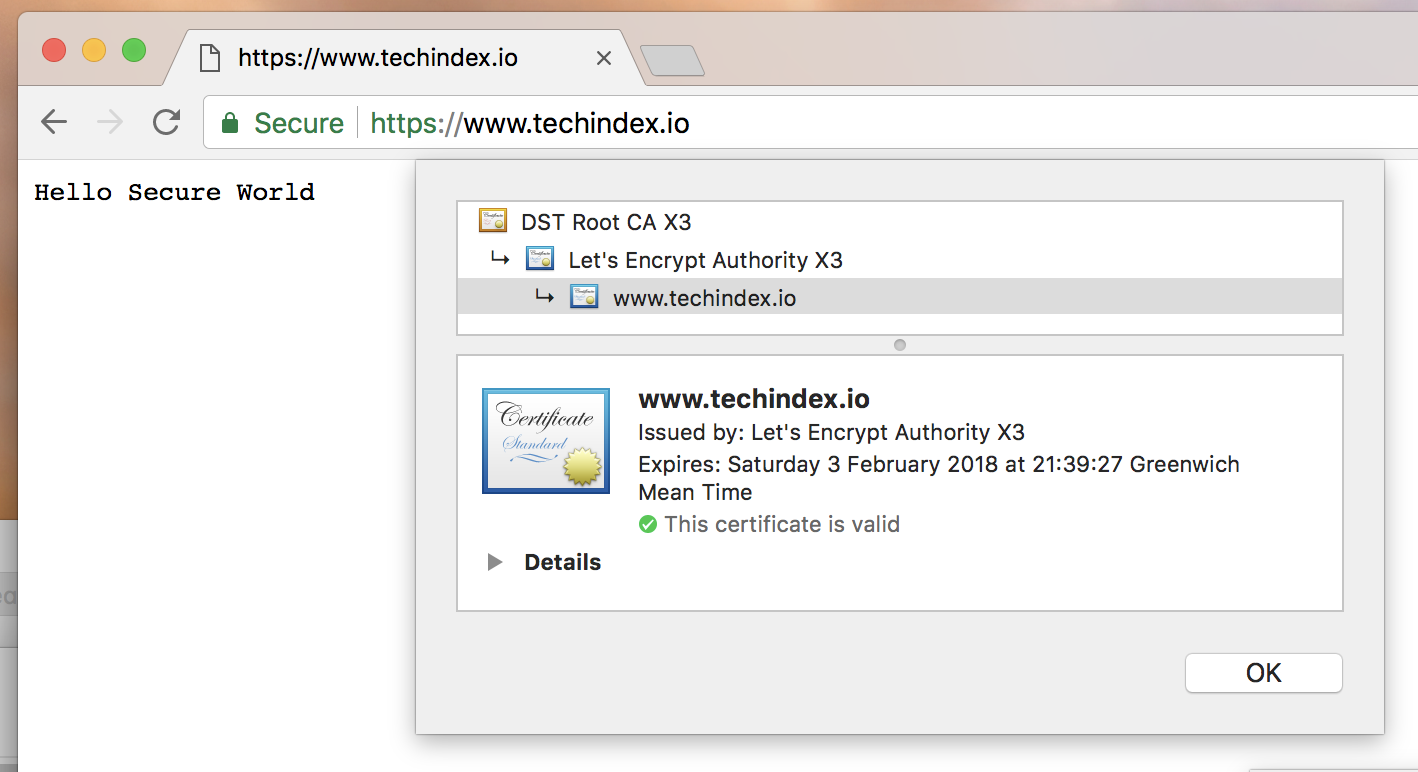
Ta-Da! 🎉
You should now see the Hello Secure World message and the green HTTPS lock icon.
You might notice that it might take a few seconds to load the first request. That’s because the SSL/TLS certificate generation process is happening on the background. Consecutive request should be lightning fast as the certificate is already cached.
Important notes and suggestions:
- There are limits on how many certificates can be generated for the same domain. At the time of this writing, the limit is 20 certificates per week. It might look a lot, but if you don’t manage the cache properly you might easily reach this limit. For more information about Let’s Encrypt limits, check the official docs https://letsencrypt.org/docs/rate-limits/.
- It’s up to you to decided where and how you’re going to store the certificate. The temporary local storage works great when you have only a few servers. Once your cluster grows, this method might not suit you as each server will fetch a new certificate. Remember the limit explained above.
- All certificates generated by Let’s Encrypt are valid for only 90 days. Thankfully autocert handles renewal automatically so we don’t need to do nothing. But it’s always a good idea to keep an eye on it when it’s close to expire date.
- Try to use it on a multi-tenant application where each tenant has its own subdomain and you’ll fail. I learned the hard way. The limit is by domain name, excluding sub domain, so you can only generate certificates for 20 tenants a week.
- As you cannot use autocert locally, you’ll need to build your app in such a way that you can choose between running on HTTP or HTTPS, so that you can easily use HTTP during development.
If you have any question, feedback or suggestion, please feel free to drop me a comment. I’m happy to help if I can.
Thanks!